House & Homestyle's DIY Christmas Wreath
Who loves getting crafty at Christmas? We do! We made our own DIY Christmas Wreath this year and wanted to share our easy-to-follow guide for you to try too!
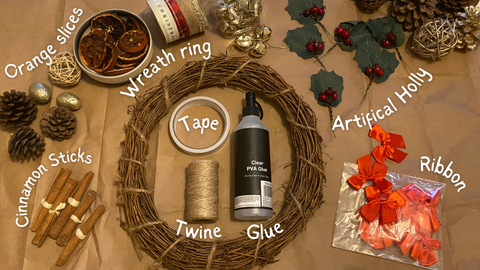
The Essentials:
- A wreath ring. You can also use a wire ring, or floral foam ring or be adventurous and make your own!
- A variety of greenery - We love firn trees and holly leaves but you can add ivy, berries or other seasonal foliage.
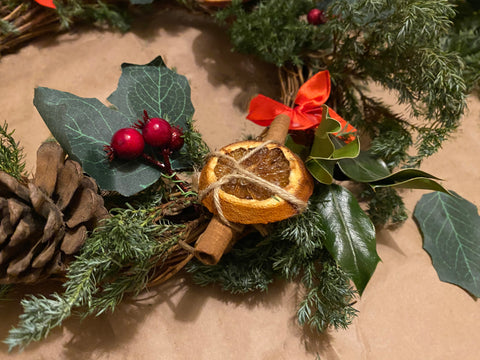
- Lots of decoration! - We chose red ribbons, cinnamon sticks, orange slices and artificial holly and berries. You can add other decorations like gold bells, pinecones, ribbons in different colours, mistletoe etc. Pick your favourites!
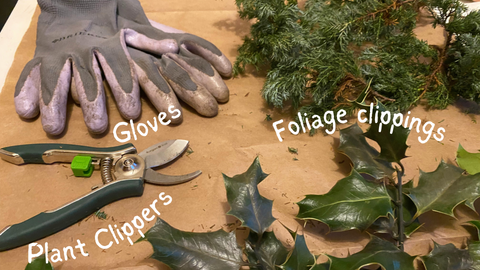
- Tools - Scissors, Twine/rope, PVA glue, plant clippers, Double sided tape (optional) and Gloves (optional).
- Cover your workstation - Keep from damaging your table by covering it with newspaper or tablecloth.
Time to make your wreath!
Step 1. Start by getting your organic greenery ready - Make sure to trim stems and leaves so that they are long enough to stick through the base without being seen from above.
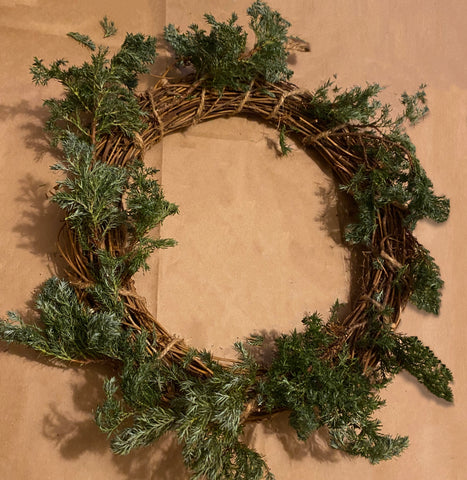
Step 2. Begin to weave foliage into the ring. If needed you can secure it by tying the twine around or glueing it into place.
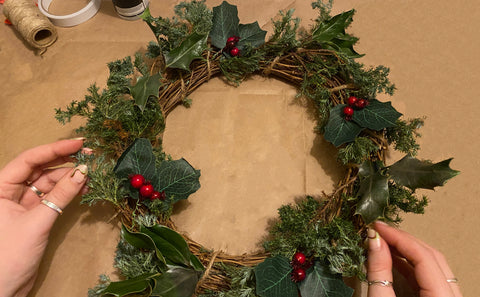
Step 3. Preparing your decorations - We decided where we wanted our decorations to be placed to see if there was enough room before cutting and sticking. After finalising, we wanted to put our orange slices and cinnamon together so it was easier to attach to our wreath, we did this by glueing the slices together and securing them with twine.
Step 4. Adding your decorations - Once this was finished we were ready to start! Firstly, we added the holly sprigs by winding the wire around the ring and weaving them into the twigs, we then began to glue on our ribbons and tie our festive decor to the wreath.

Step 5. Once all our decorations were secure, we then used our plant clippers to touch up the shape and finished by adding a rope tie to the centre top so we can hang our wreath.
You now have a Christmas Wreath!
Leave a comment